Cutting your dog’s nails can seem like a daunting task, but with the right tools, knowledge, and approach, it can be a stress-free experience for both you and your furry friend. Regular nail trimming is essential for your dog’s health and comfort, as overgrown nails can lead to pain, injury, and other health issues. Here’s a comprehensive guide to help you cut your dog’s nails safely and effectively.
Understanding the Basics
Before you start, it’s important to understand the anatomy of your dog’s nails. Each nail has a blood vessel called the “quick” running through it. Cutting into the quick can cause bleeding and pain. In light-colored nails, the quick is usually visible as a pinkish area. For dogs with dark nails, it can be harder to see, so you’ll need to be more cautious and trim in small increments.
Gather Your Tools
You’ll need the following tools to cut your dog’s nails:
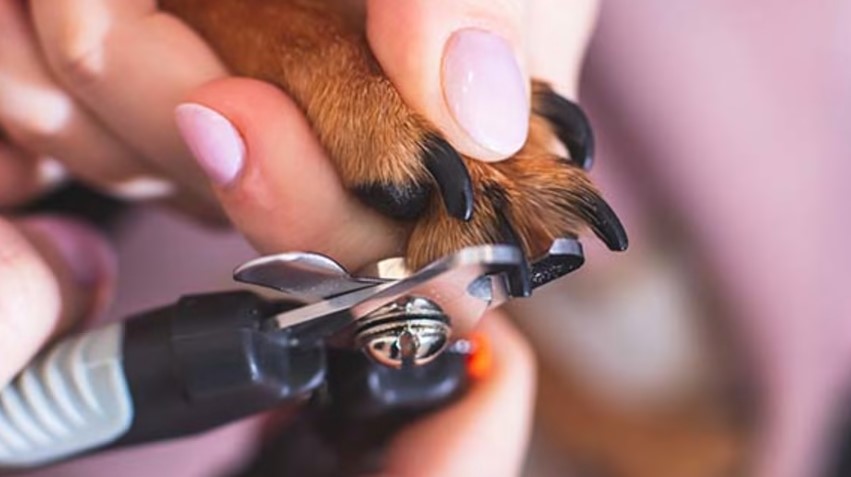
- Dog Nail Clippers: There are two main types – scissor-style clippers and guillotine-style clippers. Choose the one you feel most comfortable using.
- Styptic Powder: This helps stop any bleeding in case you accidentally cut the quick.
- Treats: To reward your dog and make the experience positive.
Steps to Cut Your Dog’s Nails
- Prepare Your Dog: Choose a quiet area where your dog feels comfortable. Have your dog lie down or sit in a relaxed position. It’s a good idea to have someone help hold your dog steady if they’re fidgety.
- Inspect the Nails: Look at each nail closely. Identify the quick in light-colored nails. For dark nails, trim a little at a time to avoid cutting into the quick.
- Hold the Paw Firmly: Gently hold your dog’s paw and separate the toes. Ensure you’re holding the paw securely but not too tightly, as this can cause discomfort.
- Trim the Nails: Using your chosen nail clippers, cut a small portion of the nail at a 45-degree angle. If your dog has light-colored nails, stop cutting when you see a pinkish hue in the center. For dark nails, cut in small increments and check the cut surface frequently. If you see a grayish-white oval starting to appear in the center, stop cutting – this is the quick.
- File the Edges: If your dog’s nails are rough after trimming, use a nail file or a Dremel tool designed for pet nails to smooth the edges.
- Reward Your Dog: Give your dog a treat and lots of praise after each nail is trimmed. This positive reinforcement helps them associate nail trimming with good things.
Tips for Success
- Start Slow: If your dog is new to nail trimming, start by handling their paws and nails regularly to get them used to the sensation.
- Regular Trimming: Aim to trim your dog’s nails every 3-4 weeks. Regular trimming helps the quick recede, making future trims easier and safer.
- Stay Calm: Your dog can sense your emotions. Stay calm and patient to keep your dog relaxed.
- Seek Professional Help: If you’re uncomfortable cutting your dog’s nails or if your dog is particularly anxious, consider seeking help from a professional groomer or veterinarian.
Conclusion
Regular nail trimming is a vital part of your dog’s grooming routine. By following these steps and maintaining a calm, patient approach, you can keep your dog’s nails at a healthy length, ensuring their comfort and well-being. Remember, practice makes perfect, and with time, both you and your dog will become more comfortable with the process.